By this point, you’re brilliant at braiding. You’ve mastered all sorts of plaits, from the romantic waterfall braid to the badass dutch-french mohawk. All of your friends ask to be your guinea pig when you’re practicing the hottest styles. Maybe you’ve showcased your skills for a pal’s wedding! If that’s the case, it’s time you took your braiding game to the next level.
We consulted GHD brand ambassador and straight-up hair genius Stephanie Brinkerhoff, who’s the weaving wizard behind the Instagram account hair and makeup by steph. She created this multiplaited (seriously there are about five braids in here) bohemian style exclusively for to inspire your next mane masterpiece. She even provided step by step shots and a video, so you can accomplish it with ease on the first try. Read on to get started!
Step: 1

Starting about three-quarters of the way up your strands, loosely curl all your hair using a curling iron like GHD Curve Soft Curl Iron ($199). There’s no need to be careful about the size of the sections or direction of the ringlet! This style will look cooler if it’s a bit messy.
Step: 2
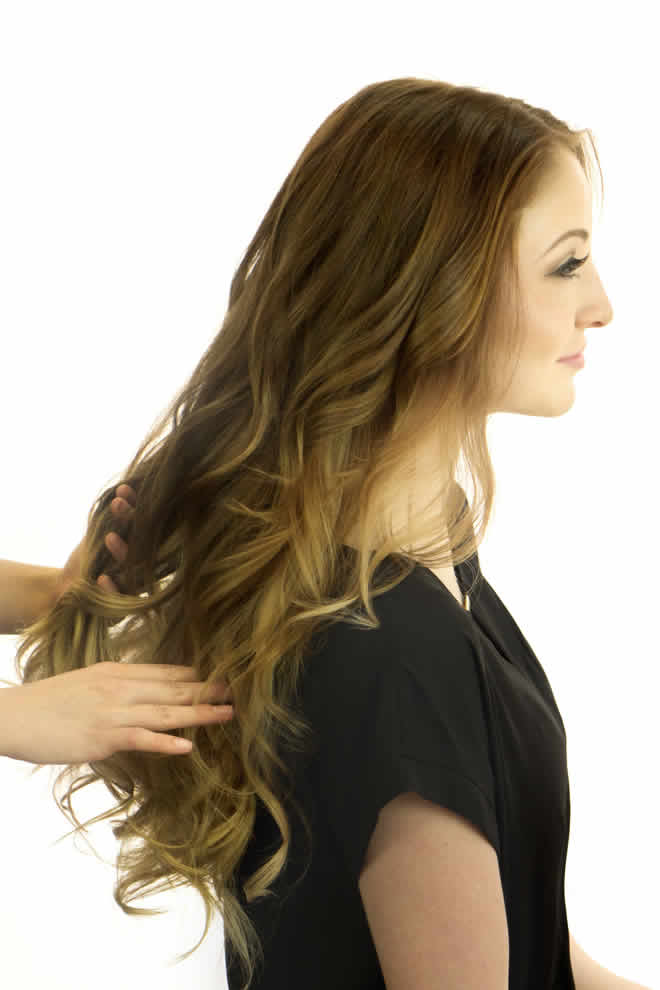
Once all your hair is curled, spritz a texturizing spray like Kenra Professional Fast-dry Spray 8 ($17) onto your fingers, then run them through the ends of your strands. This adds hold and gives it a more beachy look.
Step: 3

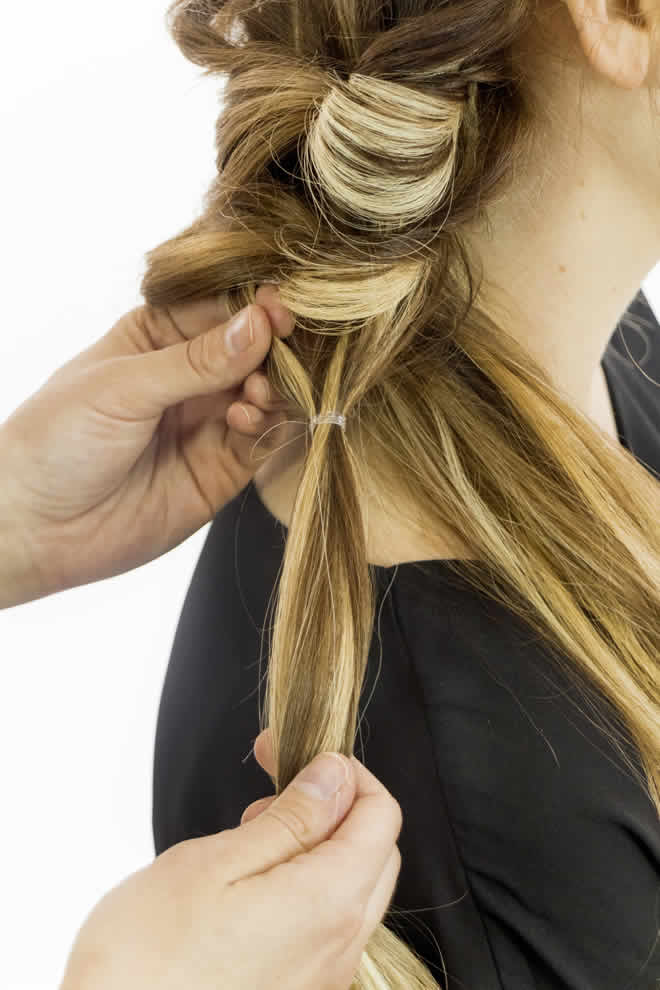
Take all your hair from ear level and up, and clip it out of the way for now. Take a small section of loose hair from behind each ear and combine them into a small ponytail behind your right ear (pictured). Fasten with a small, clear elastic. The finished result should look like a tiny side ponytail.
Step: 4

Create a topsy tail! All you have to do for this is flip the ponytail inside out by tucking the tail through the hair above the elastic, then pulling it through.
Step: 5

Use your fingers to tug apart and fatten up the base of the ponytail. This is called pancaking, and it will result in a softer, wider faux-braid. Plus, it makes the elastic band practically invisible.
Step: 6
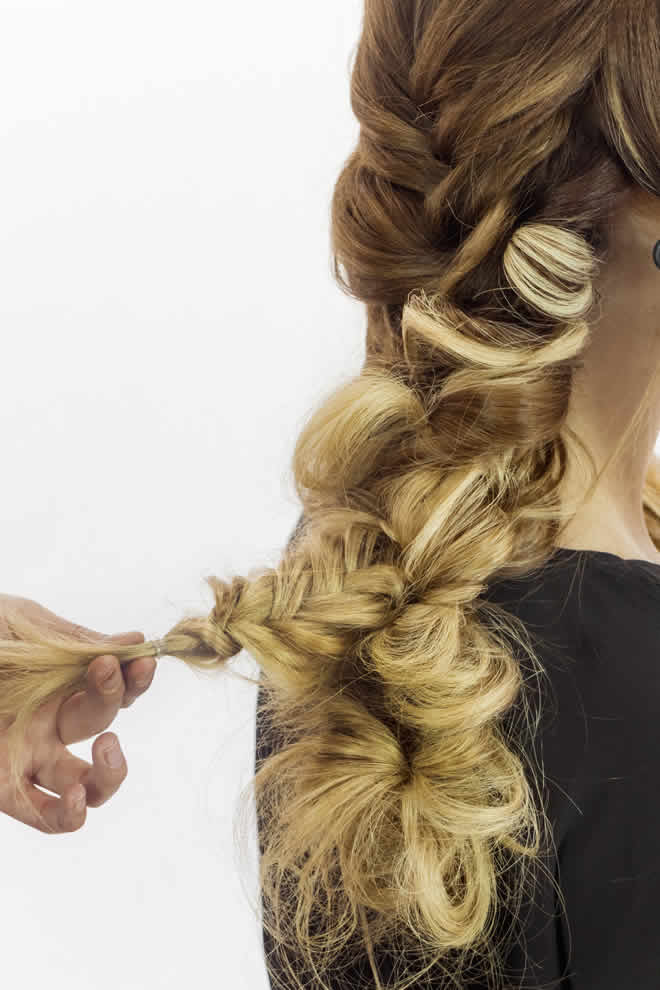
Working down the same ponytail, repeat the process you just completed: secure strands with an elastic, turn that new ponytail inside out, and pancake the base. Repeat this on that one section until you have about two inches of hair left. Then backcomb these strands, adding texture and volume to the braid.
Step: 7

Take a low segment of this faux-braid, loop it up, and secure it with another elastic to make the style look messier and fuller.
Step: 8
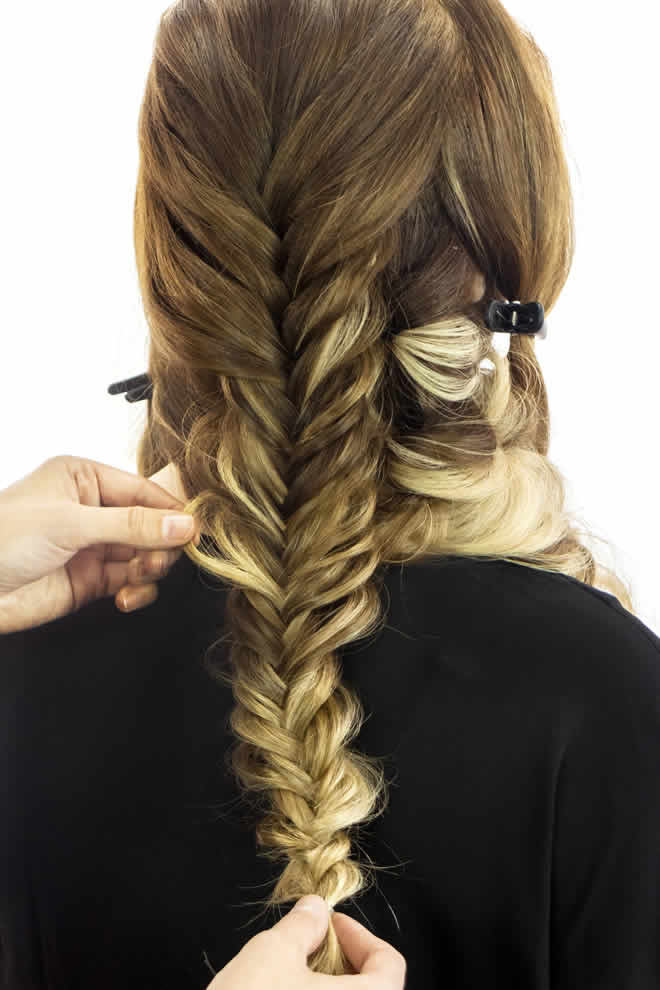
Let down the top half of your hair, reserving the sections on the left and right sides of your face for later use. Taking the strands from the crown of your head, create a french fishtail braid. Once you’ve plaited the whole section, pancake your finished braid to make it look softer. Not sure what a french fishtail is? This differs from a classic fishtail in that you will be adding a bit of the hair from the root each time you weave a segment of the style. For more instructions on how to create a french fishtail braid, go here.
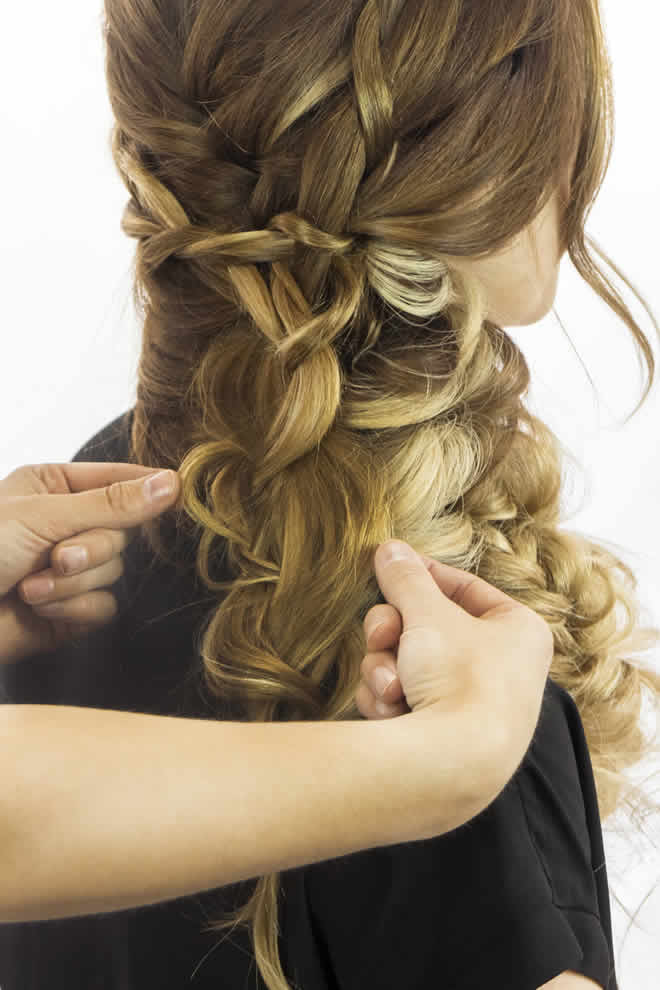
Step: 9

Grab your freshly woven fishtail and weave it through your faux braid. To do this, create a small opening near the top of the series of loops with your fingers, then pull the fishtail through it.
Step: 10
Repeat this a few more times (depending on the length of your hair) to weave your two styles together. It should look like tousled, messy strands with a hidden plait inside!
Step: 11
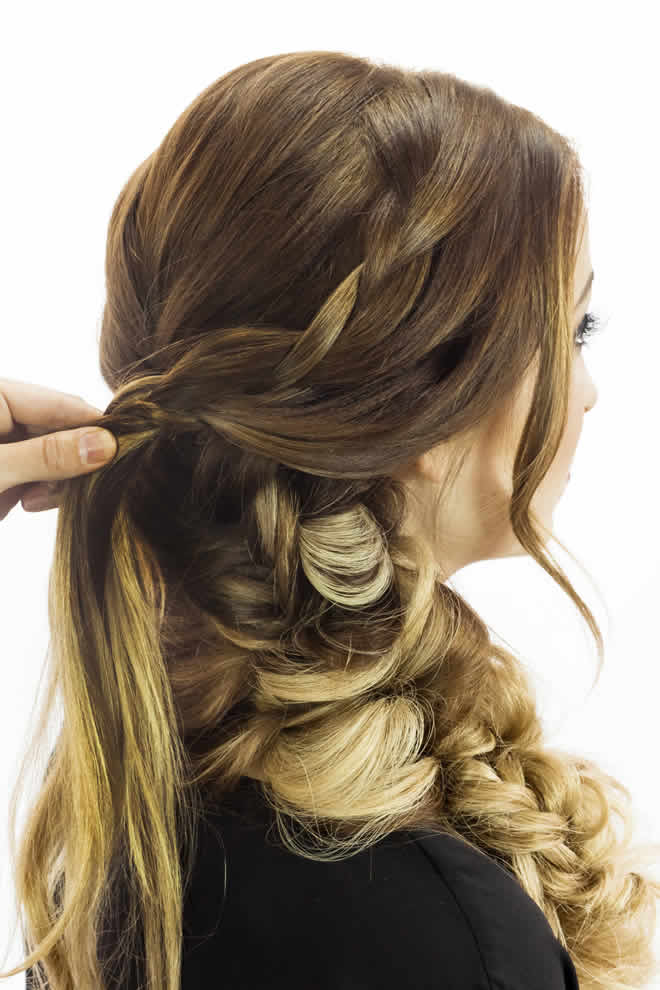
Now you can finally let down the two side sections! Use each piece to create two separate, loosely woven french braids that start at the part, then join together to create one plait at the center back. For more guidance on french braids, go here.
Step: 12
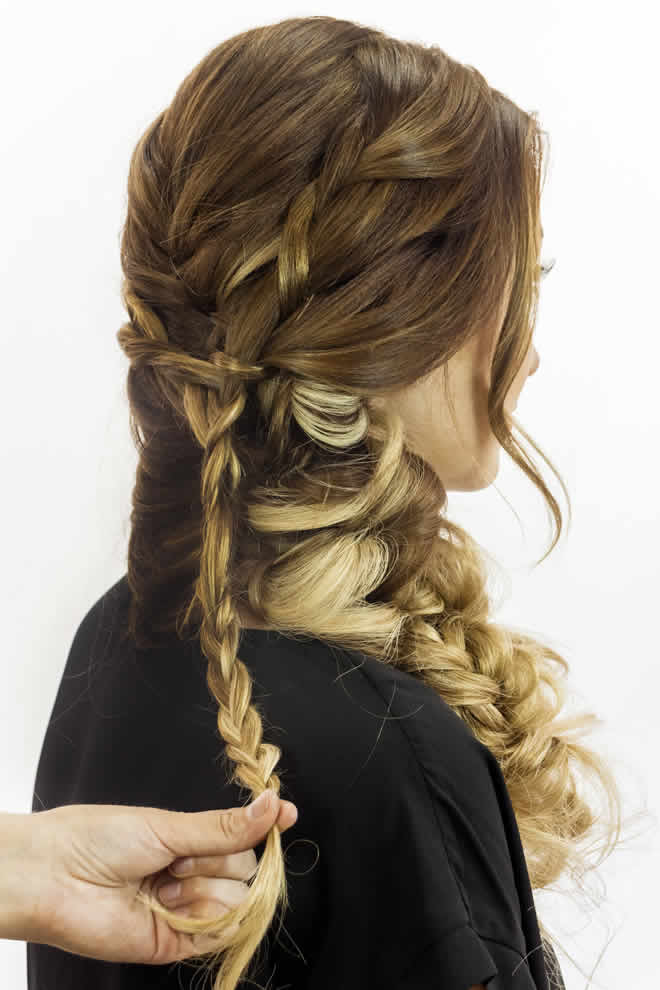
Continue plaiting your combined french braids until you run out of hair, and fasten it with an elastic.
Step: 13
Heavily loosen the braid by tugging at the sides, to the point that it loses much of its plait shape. You want it to look like a series of loops by the time you’re done stretching out the style.
Step: 14

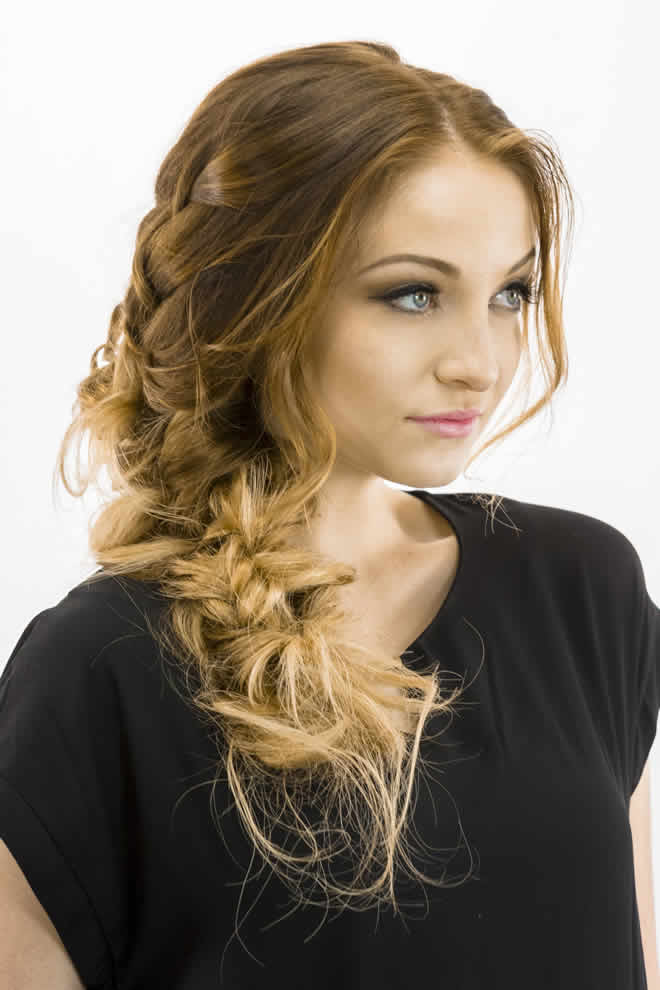
Scrunch the loose braid up to your scalp and secure it with bobby pins. Once you spritz all over with your favorite hair spray, like Kenra Professional Design Spray 9 ($17), you’re done! Go out and show off that awesome plait.
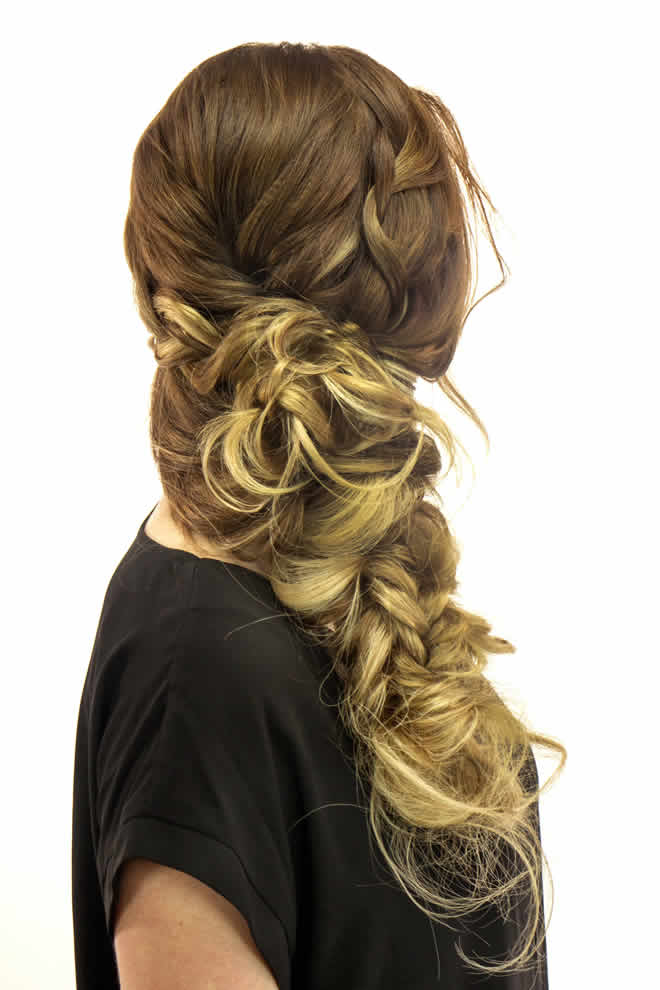
The Finished Look From the Side
The Finished Look From the Front